
SonarQube on Gitea Actions

Gitea Actions is the built-in CI system of Gitea comparable and compatible with GitHub Actions.
SonarQube Server hosts SonarQube automated code quality and security reviews.
Both are indispensable for teams or individuals that ensure high code quality and security.
This guide will demonstrate how to integrate SonarQube with Gitea Actions.

Diagram showing the integration of SonarQube with Gitea Actions
Prerequisites
Enable Gitea Actions
If you are running Gitea version older than 1.21.0, you need to enable Gitea Actions by updating the configuration file.
[actions]
enabled = true
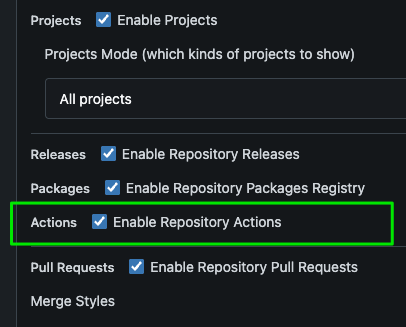
Next, you should also enable “Actions” in the repository. Head on to <gitea-instance-url>/<owner>/<your-repository>/settings.
Setup a runner
An act runner is simply a container that runs the actions. To know more about runners, please refer to the Gitea Actions Quickstart documentation.
In my case, I am running a Docker container for the runner alongside with Gitea. Not Docker-in-Docker, but as a separate service.
You can definitely use a separate VM, compute instance, or a separate machine for the runner as long as the act_runner binary is available.

✏️ You can ignore the rest of the compose file but the following are worth noting:
- The service
runneris the runner container. GITEA_INSTANCE_URLis the URL of your Gitea instanceGITEA_RUNNER_REGISTRATION_TOKENis the token used to regiter the runner to the Gitea instance. You can obtain it from the Gitea instance itself or generate your own. See “Obtain a registration token” from the docs. For this demo, a token visible from both the Gitea instance and the runner is used.
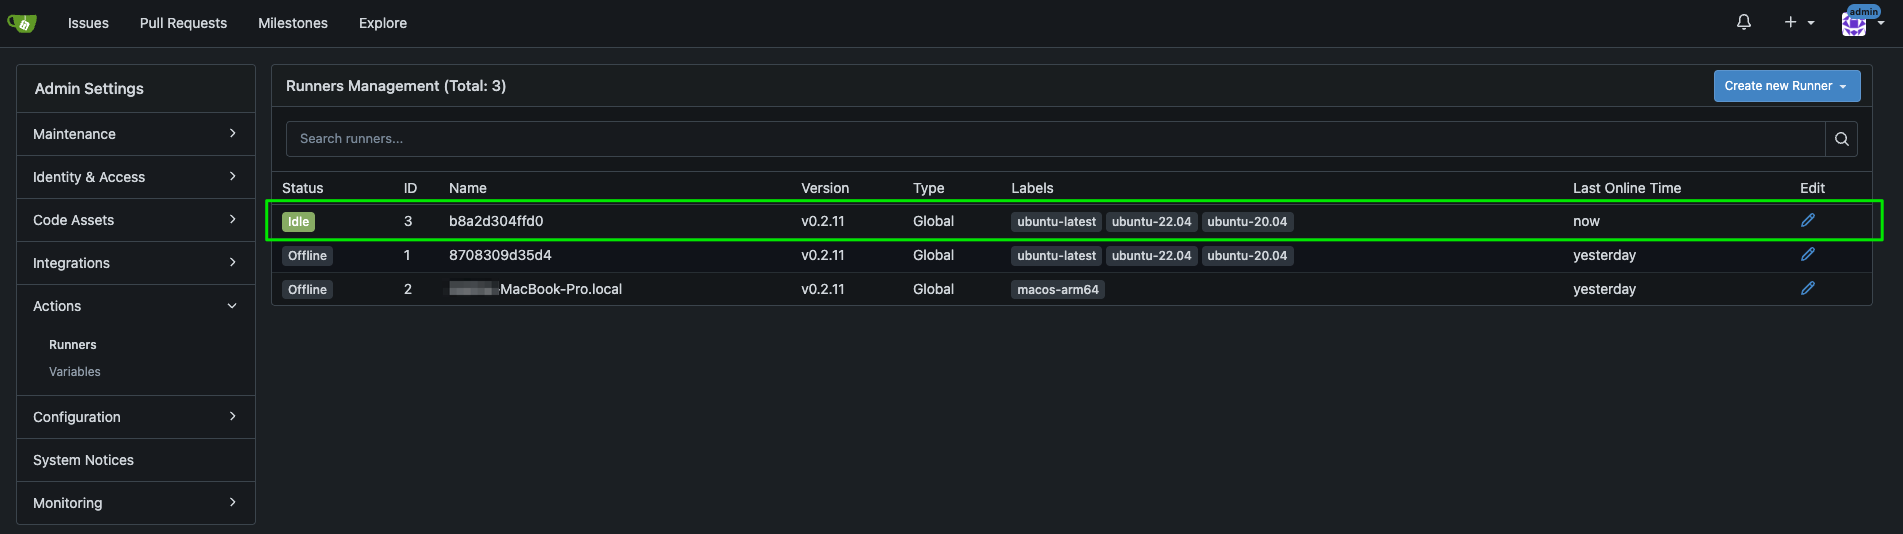
Once deployed, you should be able to see the newly registered runner.
Setup SonarQube
In SonarQube, we first need to create a project.
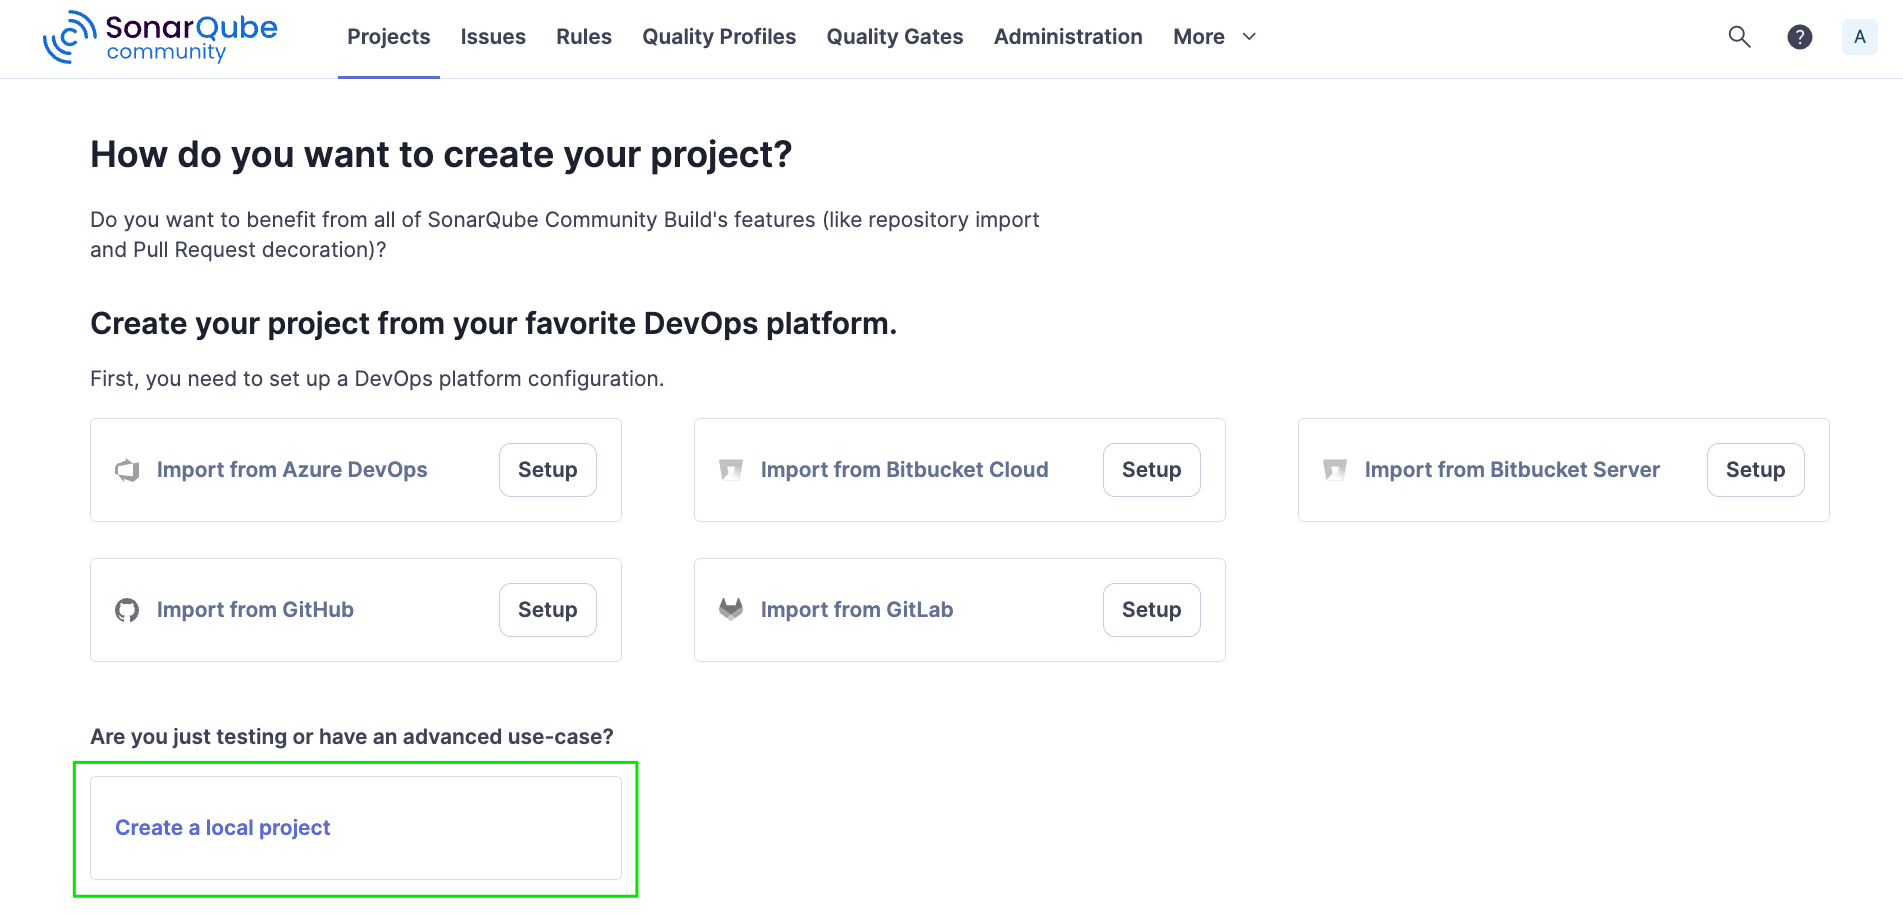
Notice that, at the time of writing, there is no direct import option for Gitea repositories. Though later on we should see that there is nothing really to worry about it since essentially these integrations work for any Git repository.
Choose “Create a local project”.
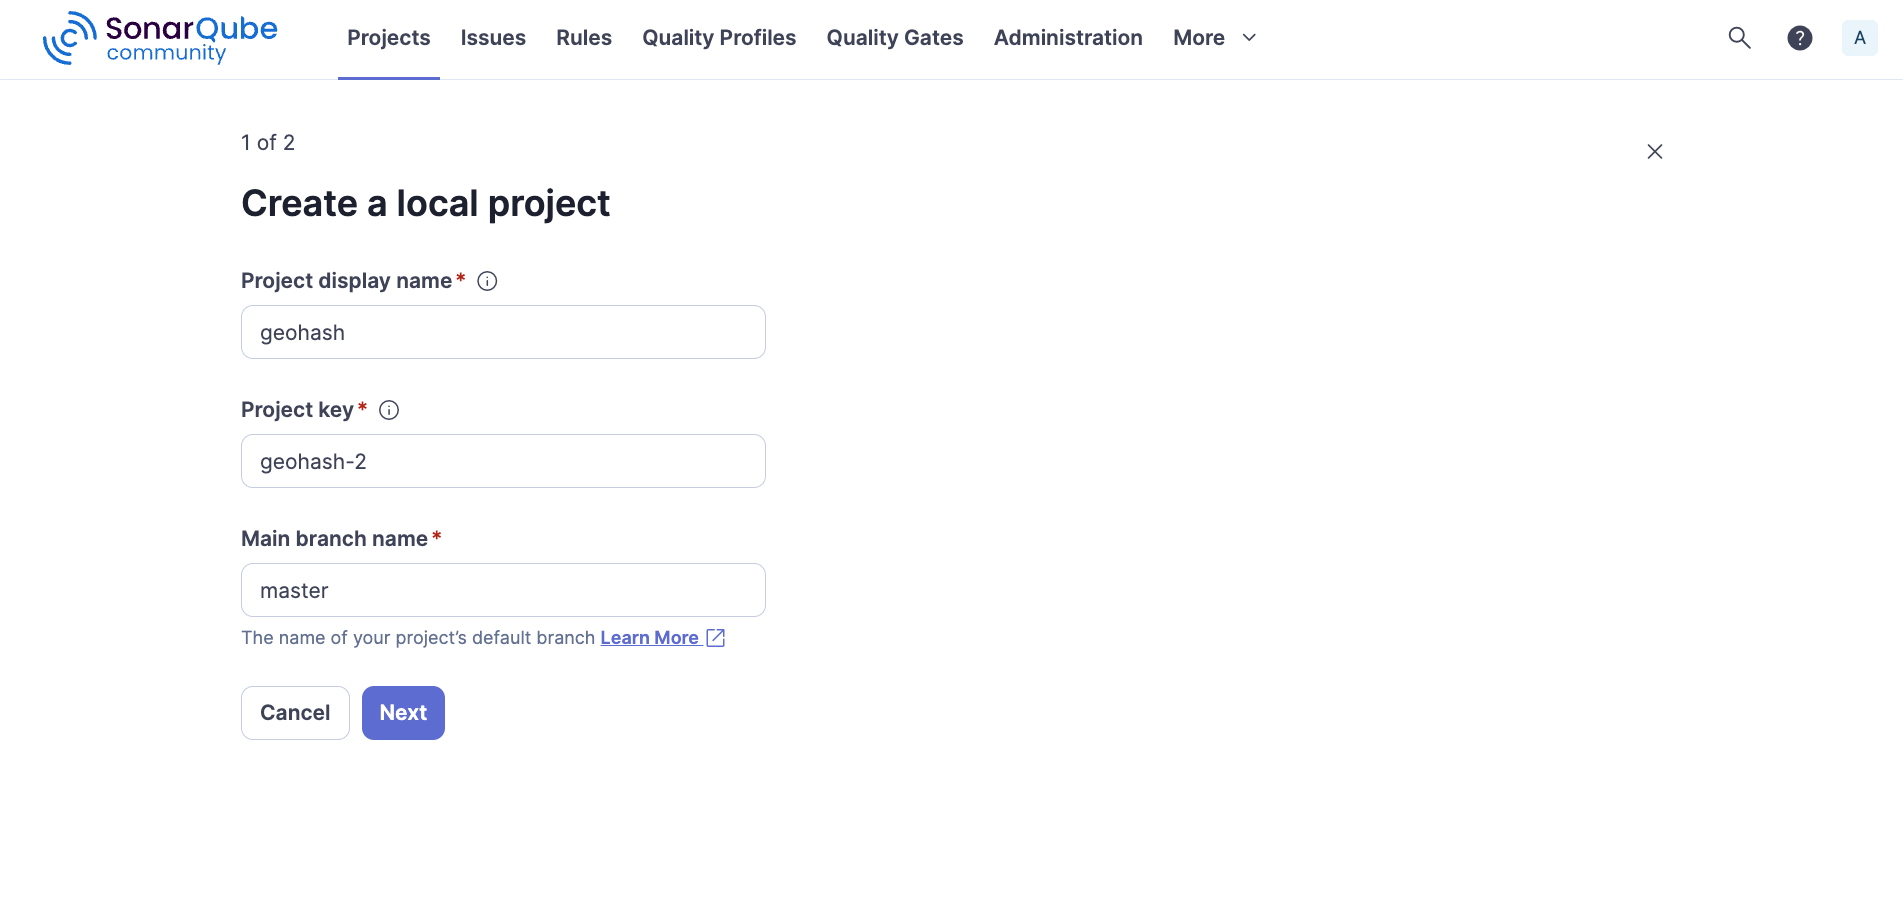
Next, fill in the project name and the project key and take note of the latter as we shall soon be using it.
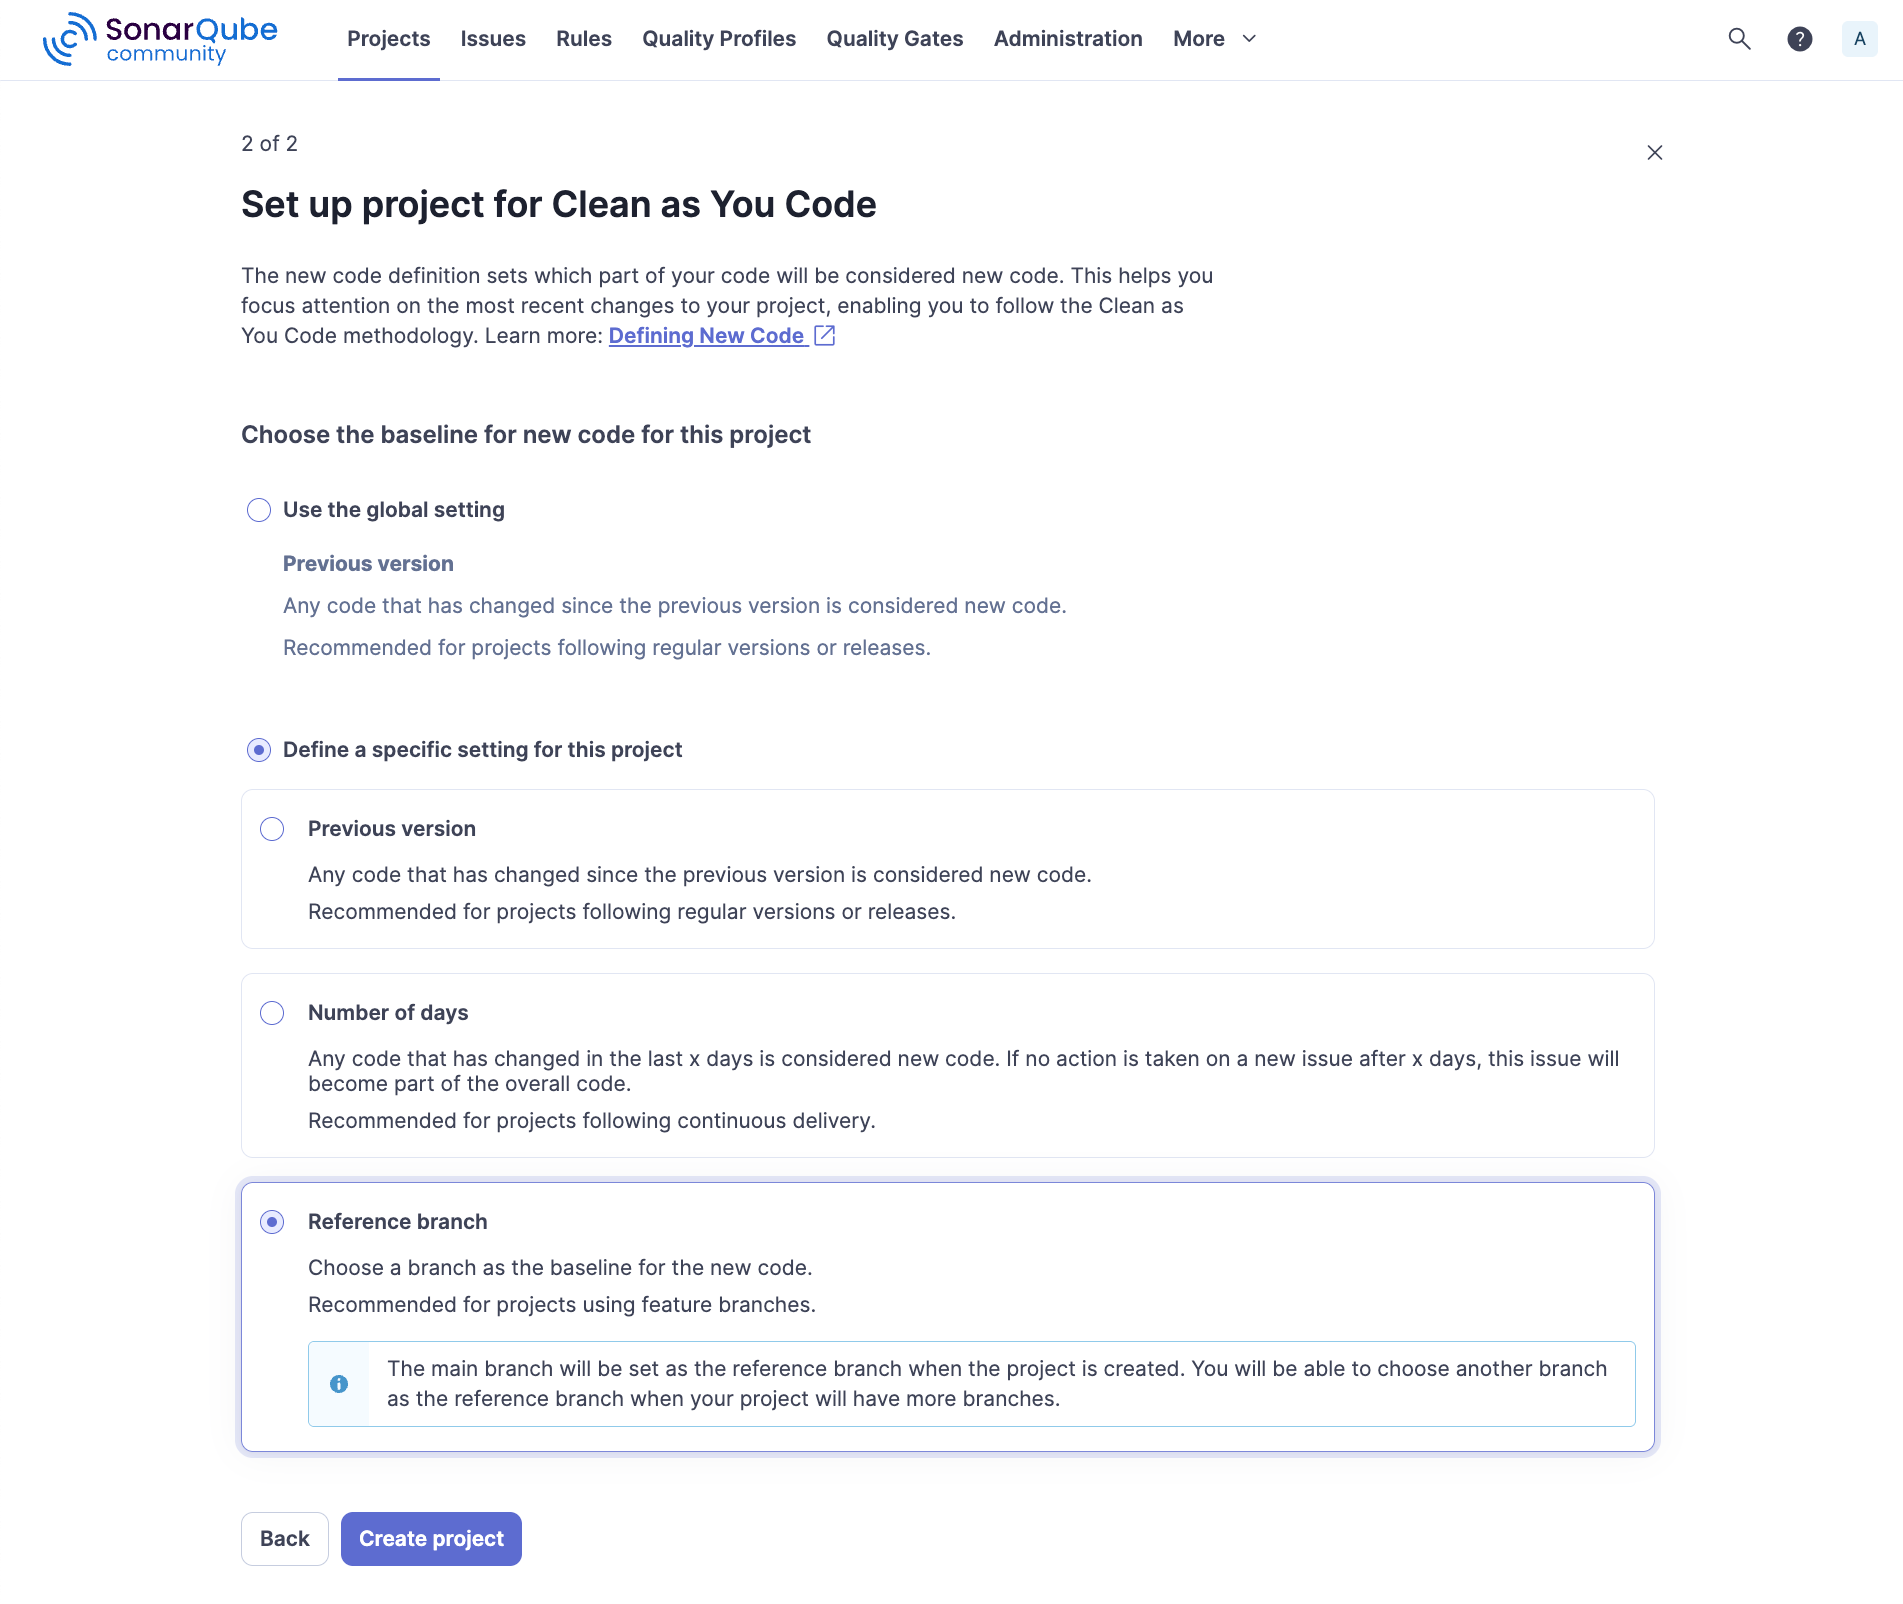
Then, select how you want to define what a “new code” is for your project. To learn more, please see “Defining New Code” on SonarQube’s documentation. For this demo, we simply select Reference branch and click “Create project”.
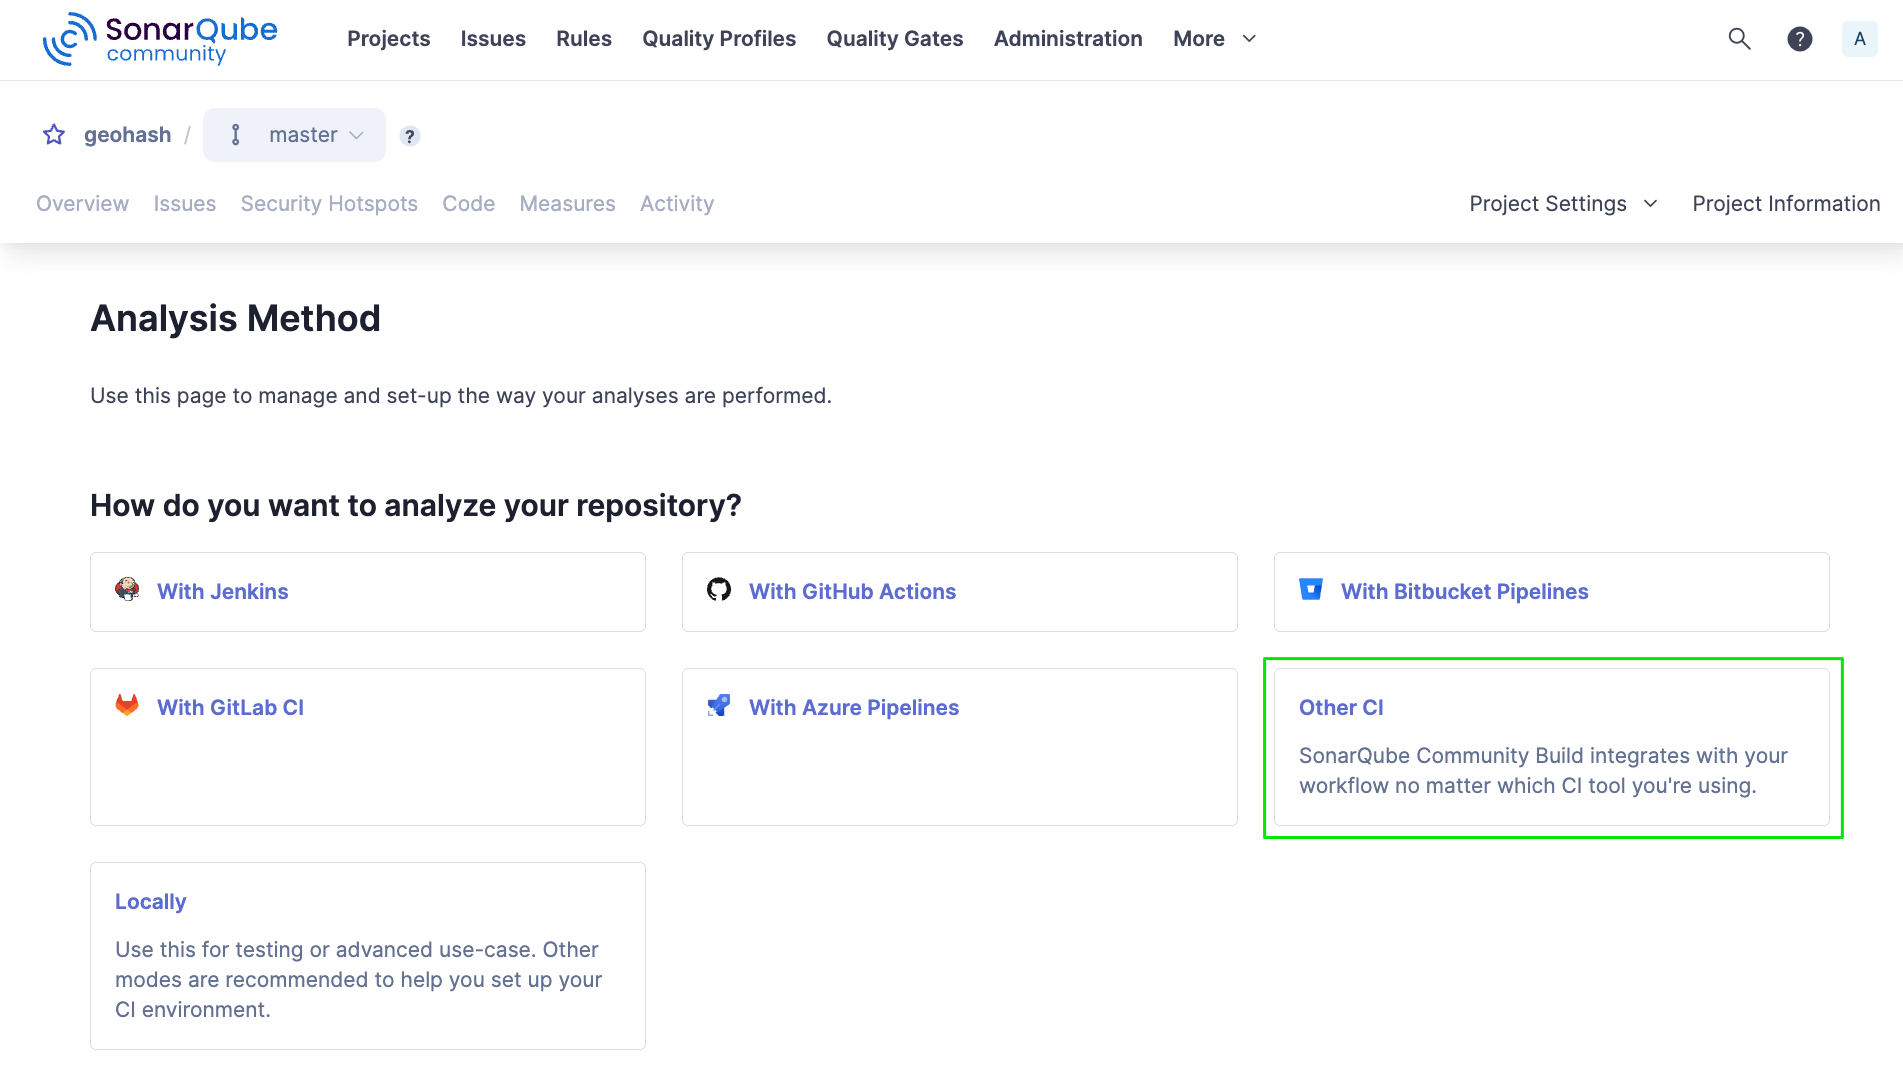
For the “Analysis Method”, choose “Other CI”.
Provide a token by generating a new token or using an existing one. Whatever you choose, make sure to copy or take note of the token.
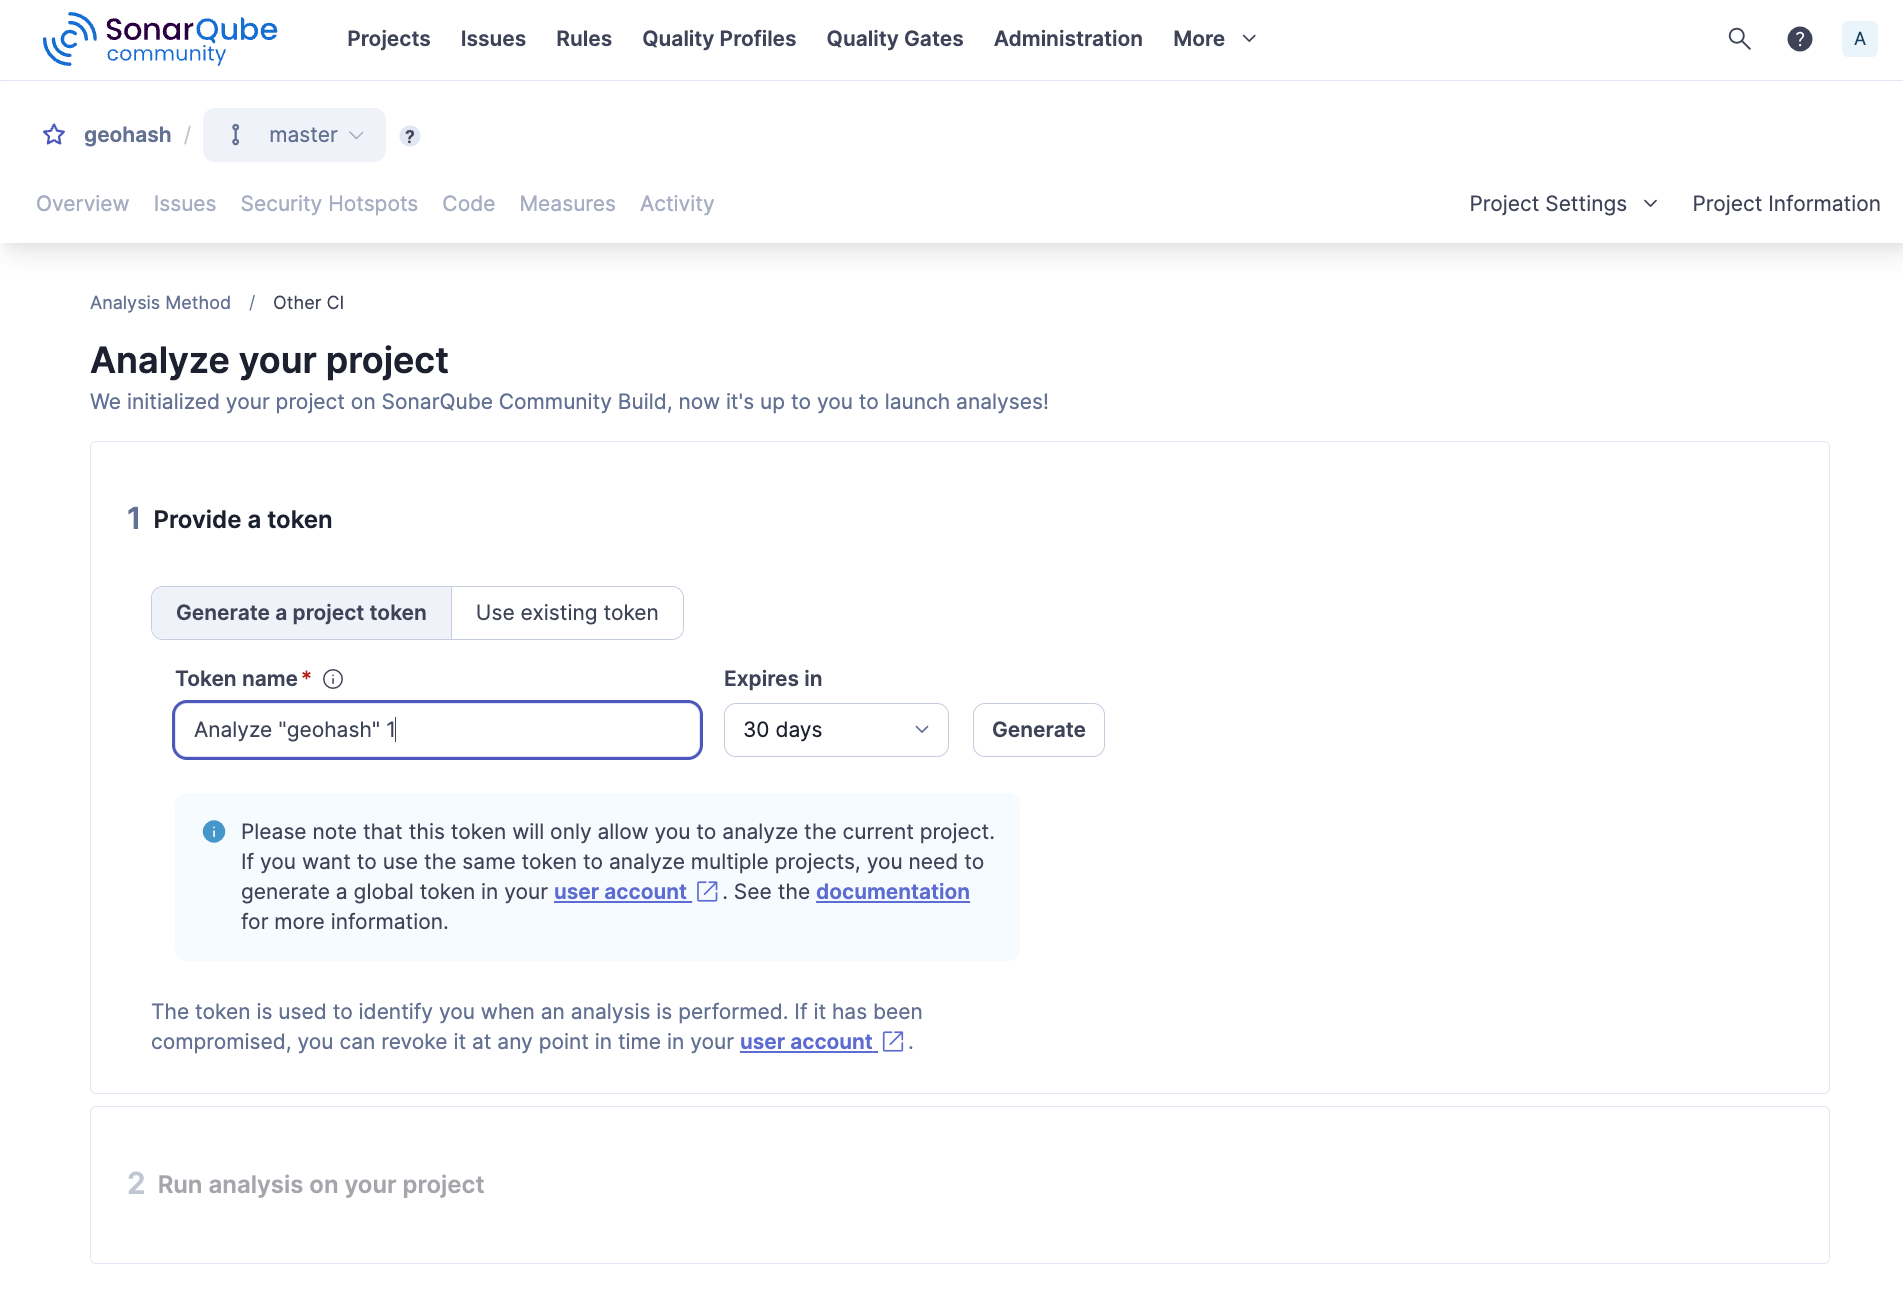
Click “Continue” and that’s basically it.
Before jumping on to the next section, make sure you have taken note of the following:
- ✅ SonarQube project key
- ✅ SonarQube token
- ✅ SonarQube host URL - the URL of your SonarQube server
Gitea Actions
Now that is all out of the way, head on to your Git project.
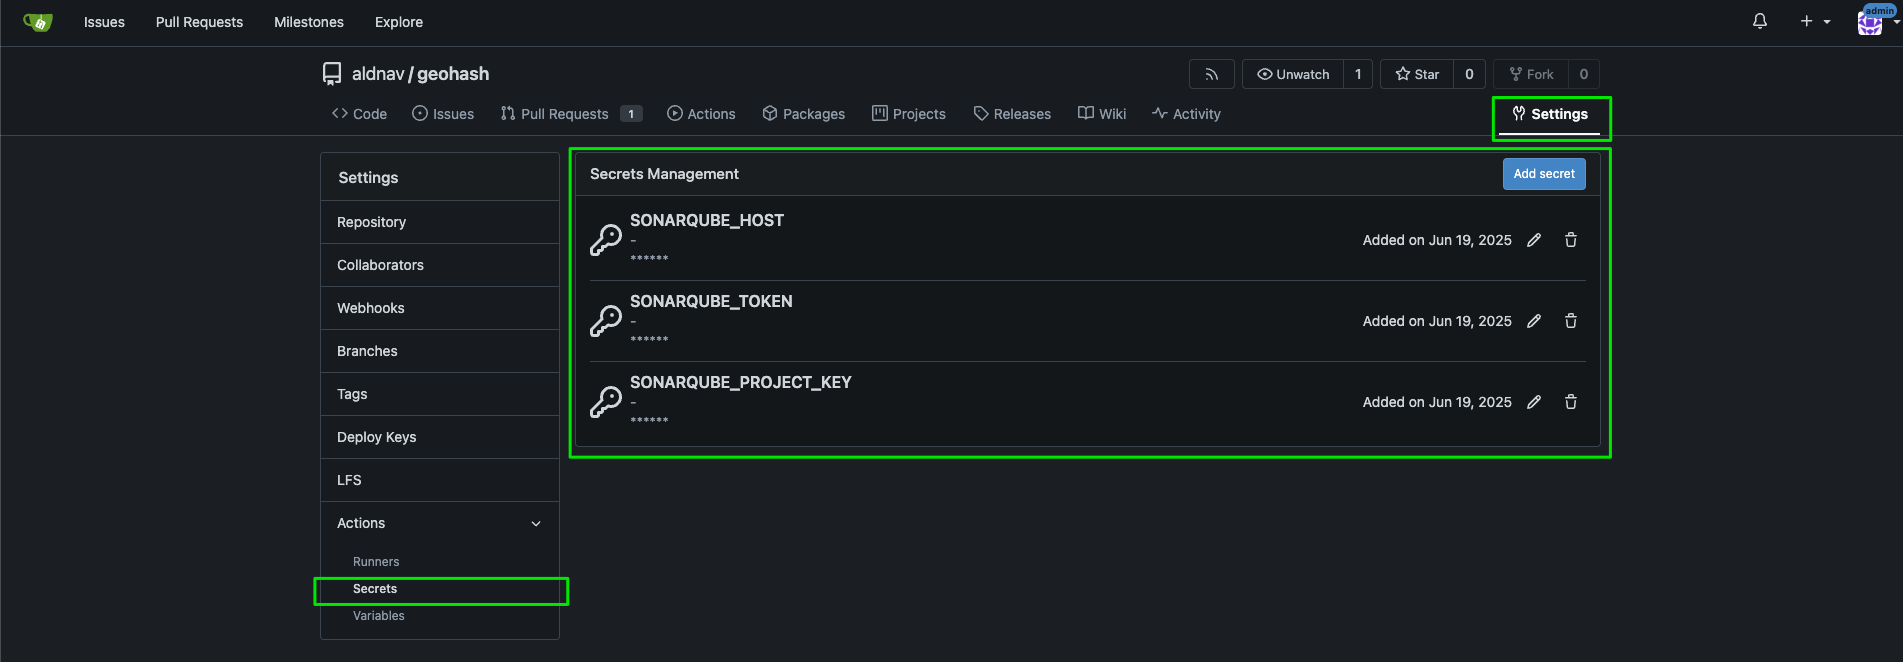
Go to your repository’s settings and add the secrets SONARQUBE_HOST, SONARQUBE_TOKEN, and SONARQUBE_PROJECT_KEY.
Create a new workflow by adding a new file in the .gitea/workflows/sonarqube.yml directory.

For this demo, the main flow is composed only of two steps, checking out the repository into the runner and then running the SonarQube scan.
For more information on SonarQube Scan Action, please refer to the repository.
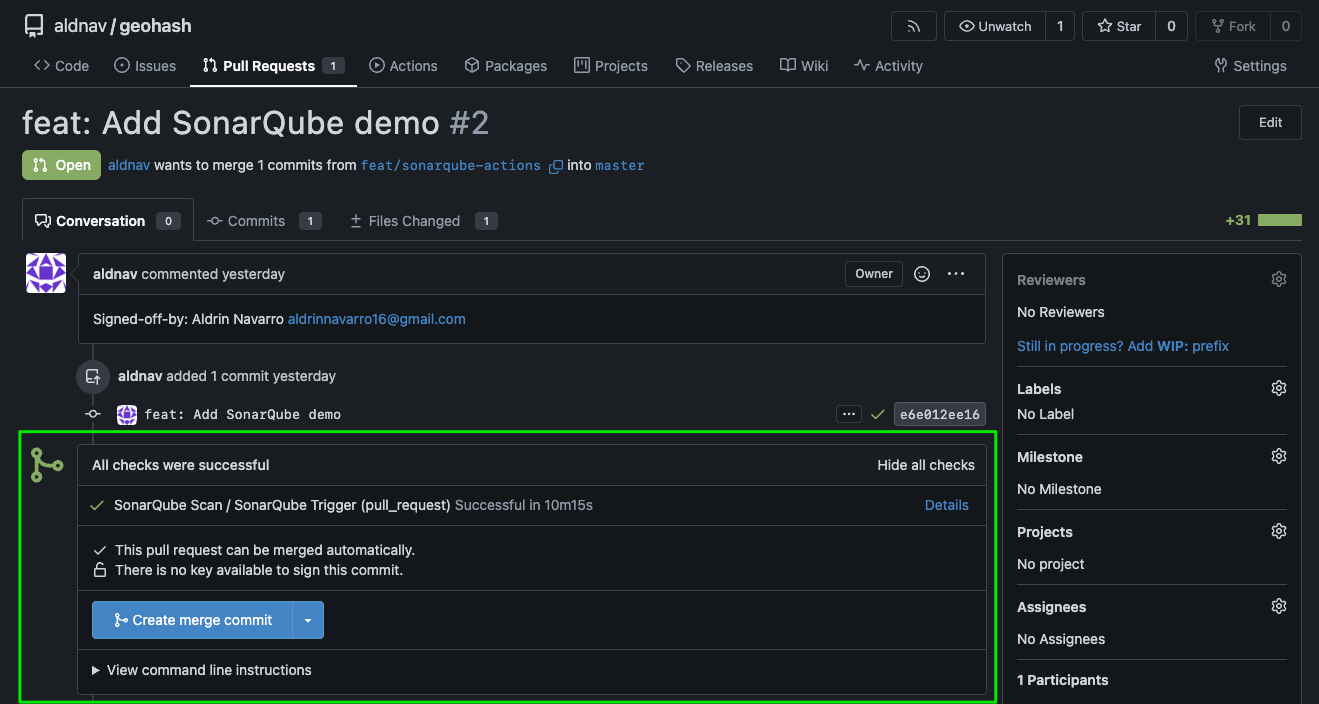
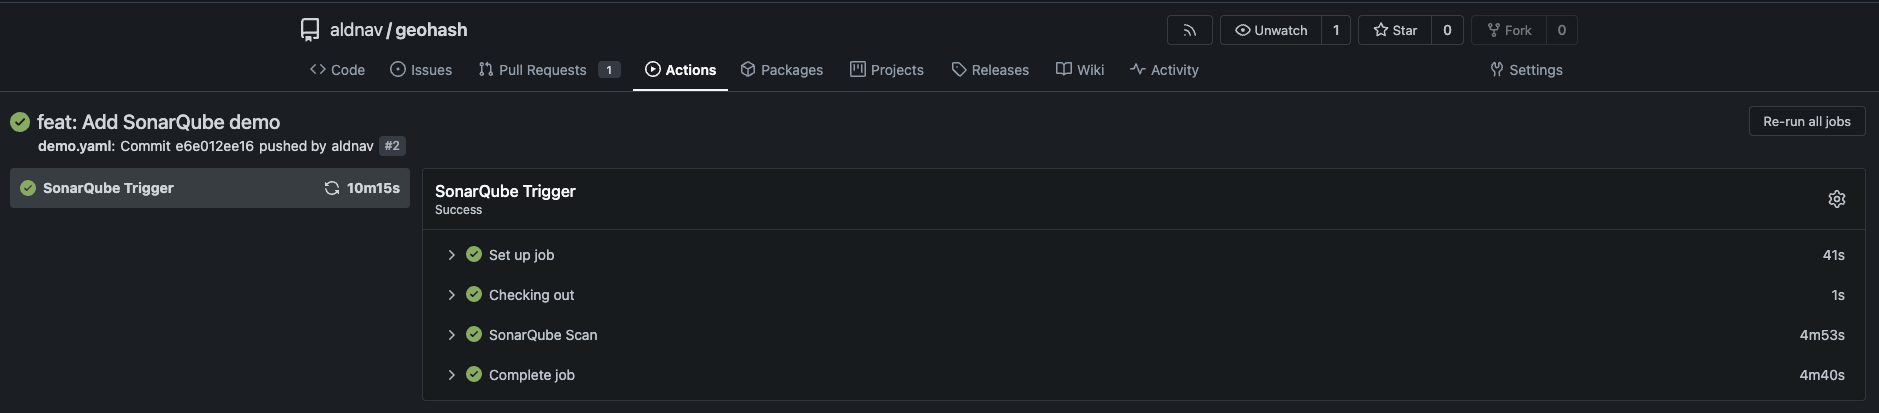
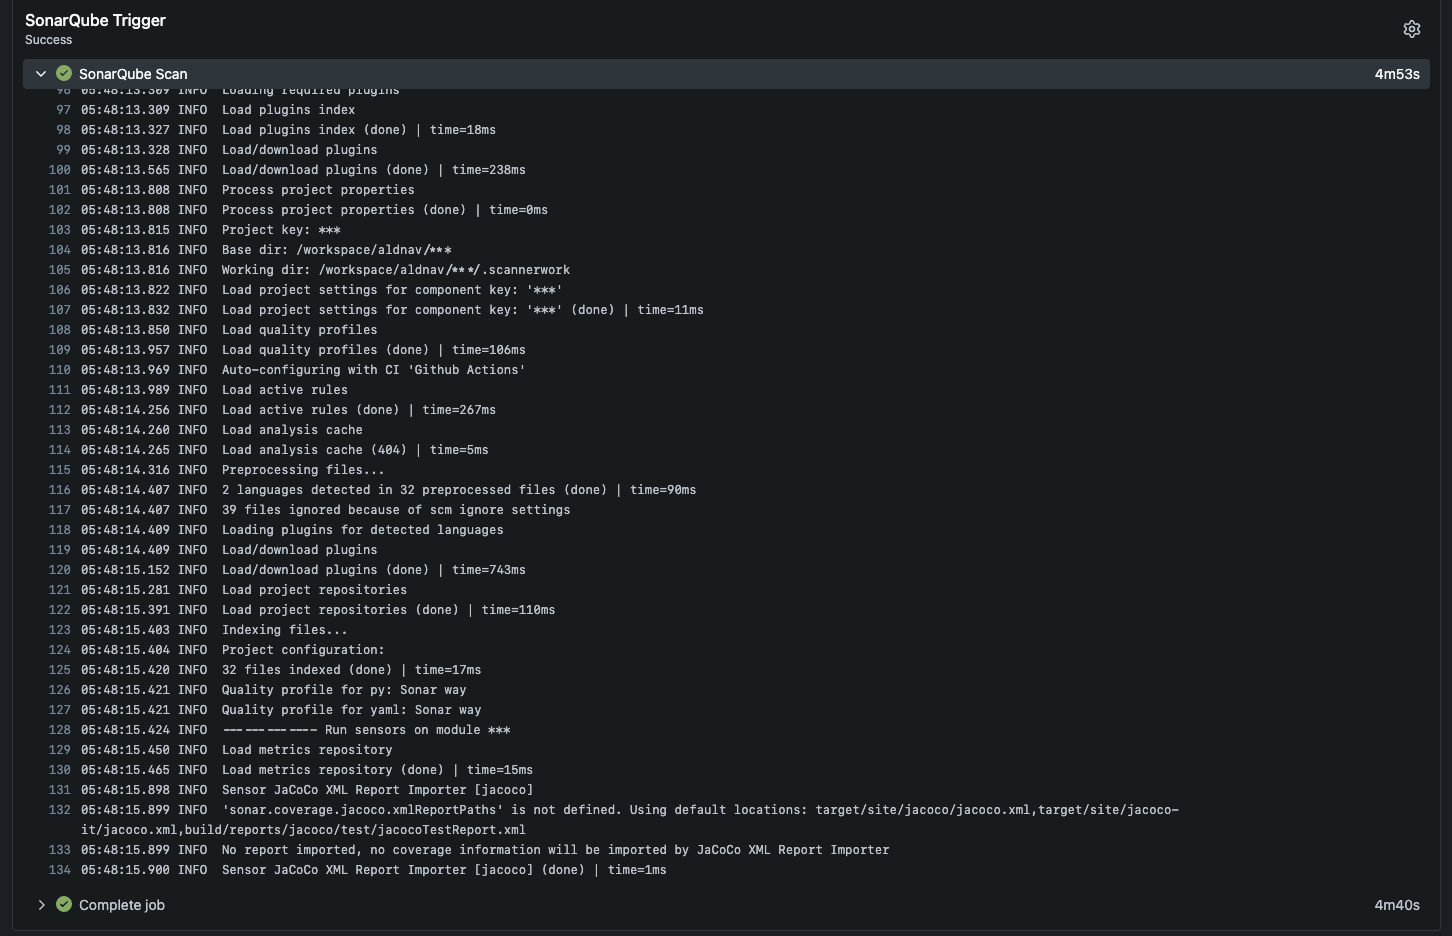
This demo workflow is triggered on push to the main branch or on a pull request. If everything goes well, you should be able to see the workflow run in the pull request or the Actions tab.
SonarQube
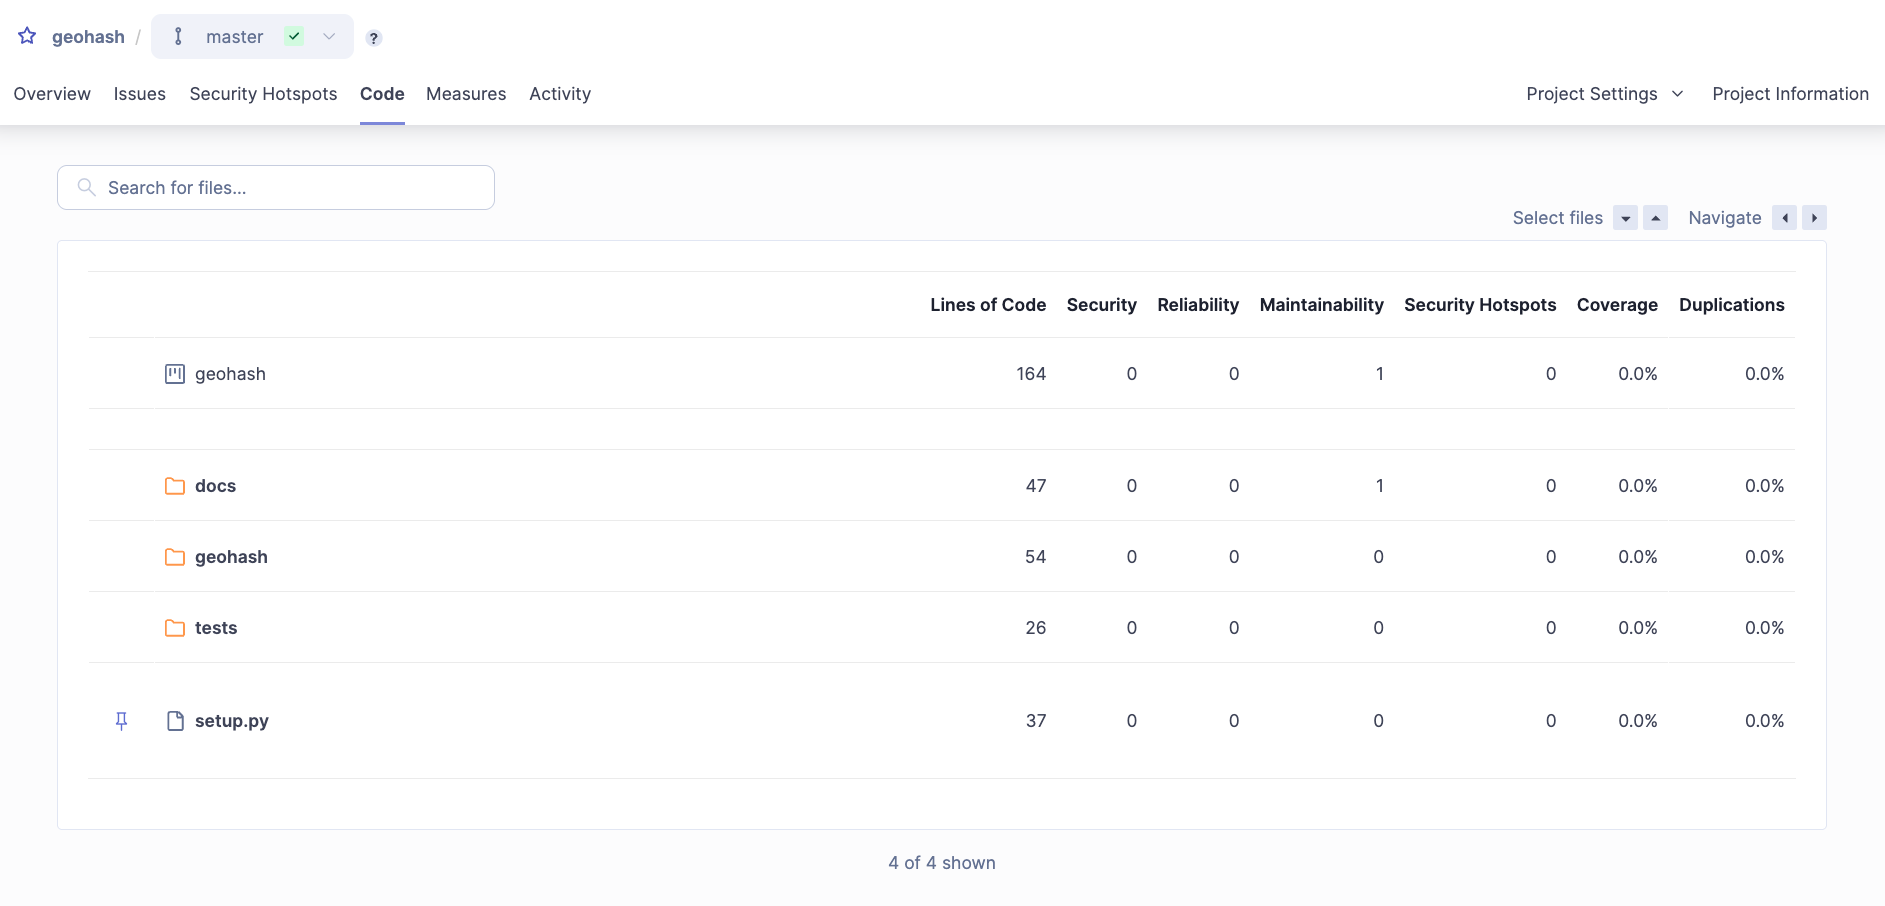
You can now head on to your SonarQube project and see the results.
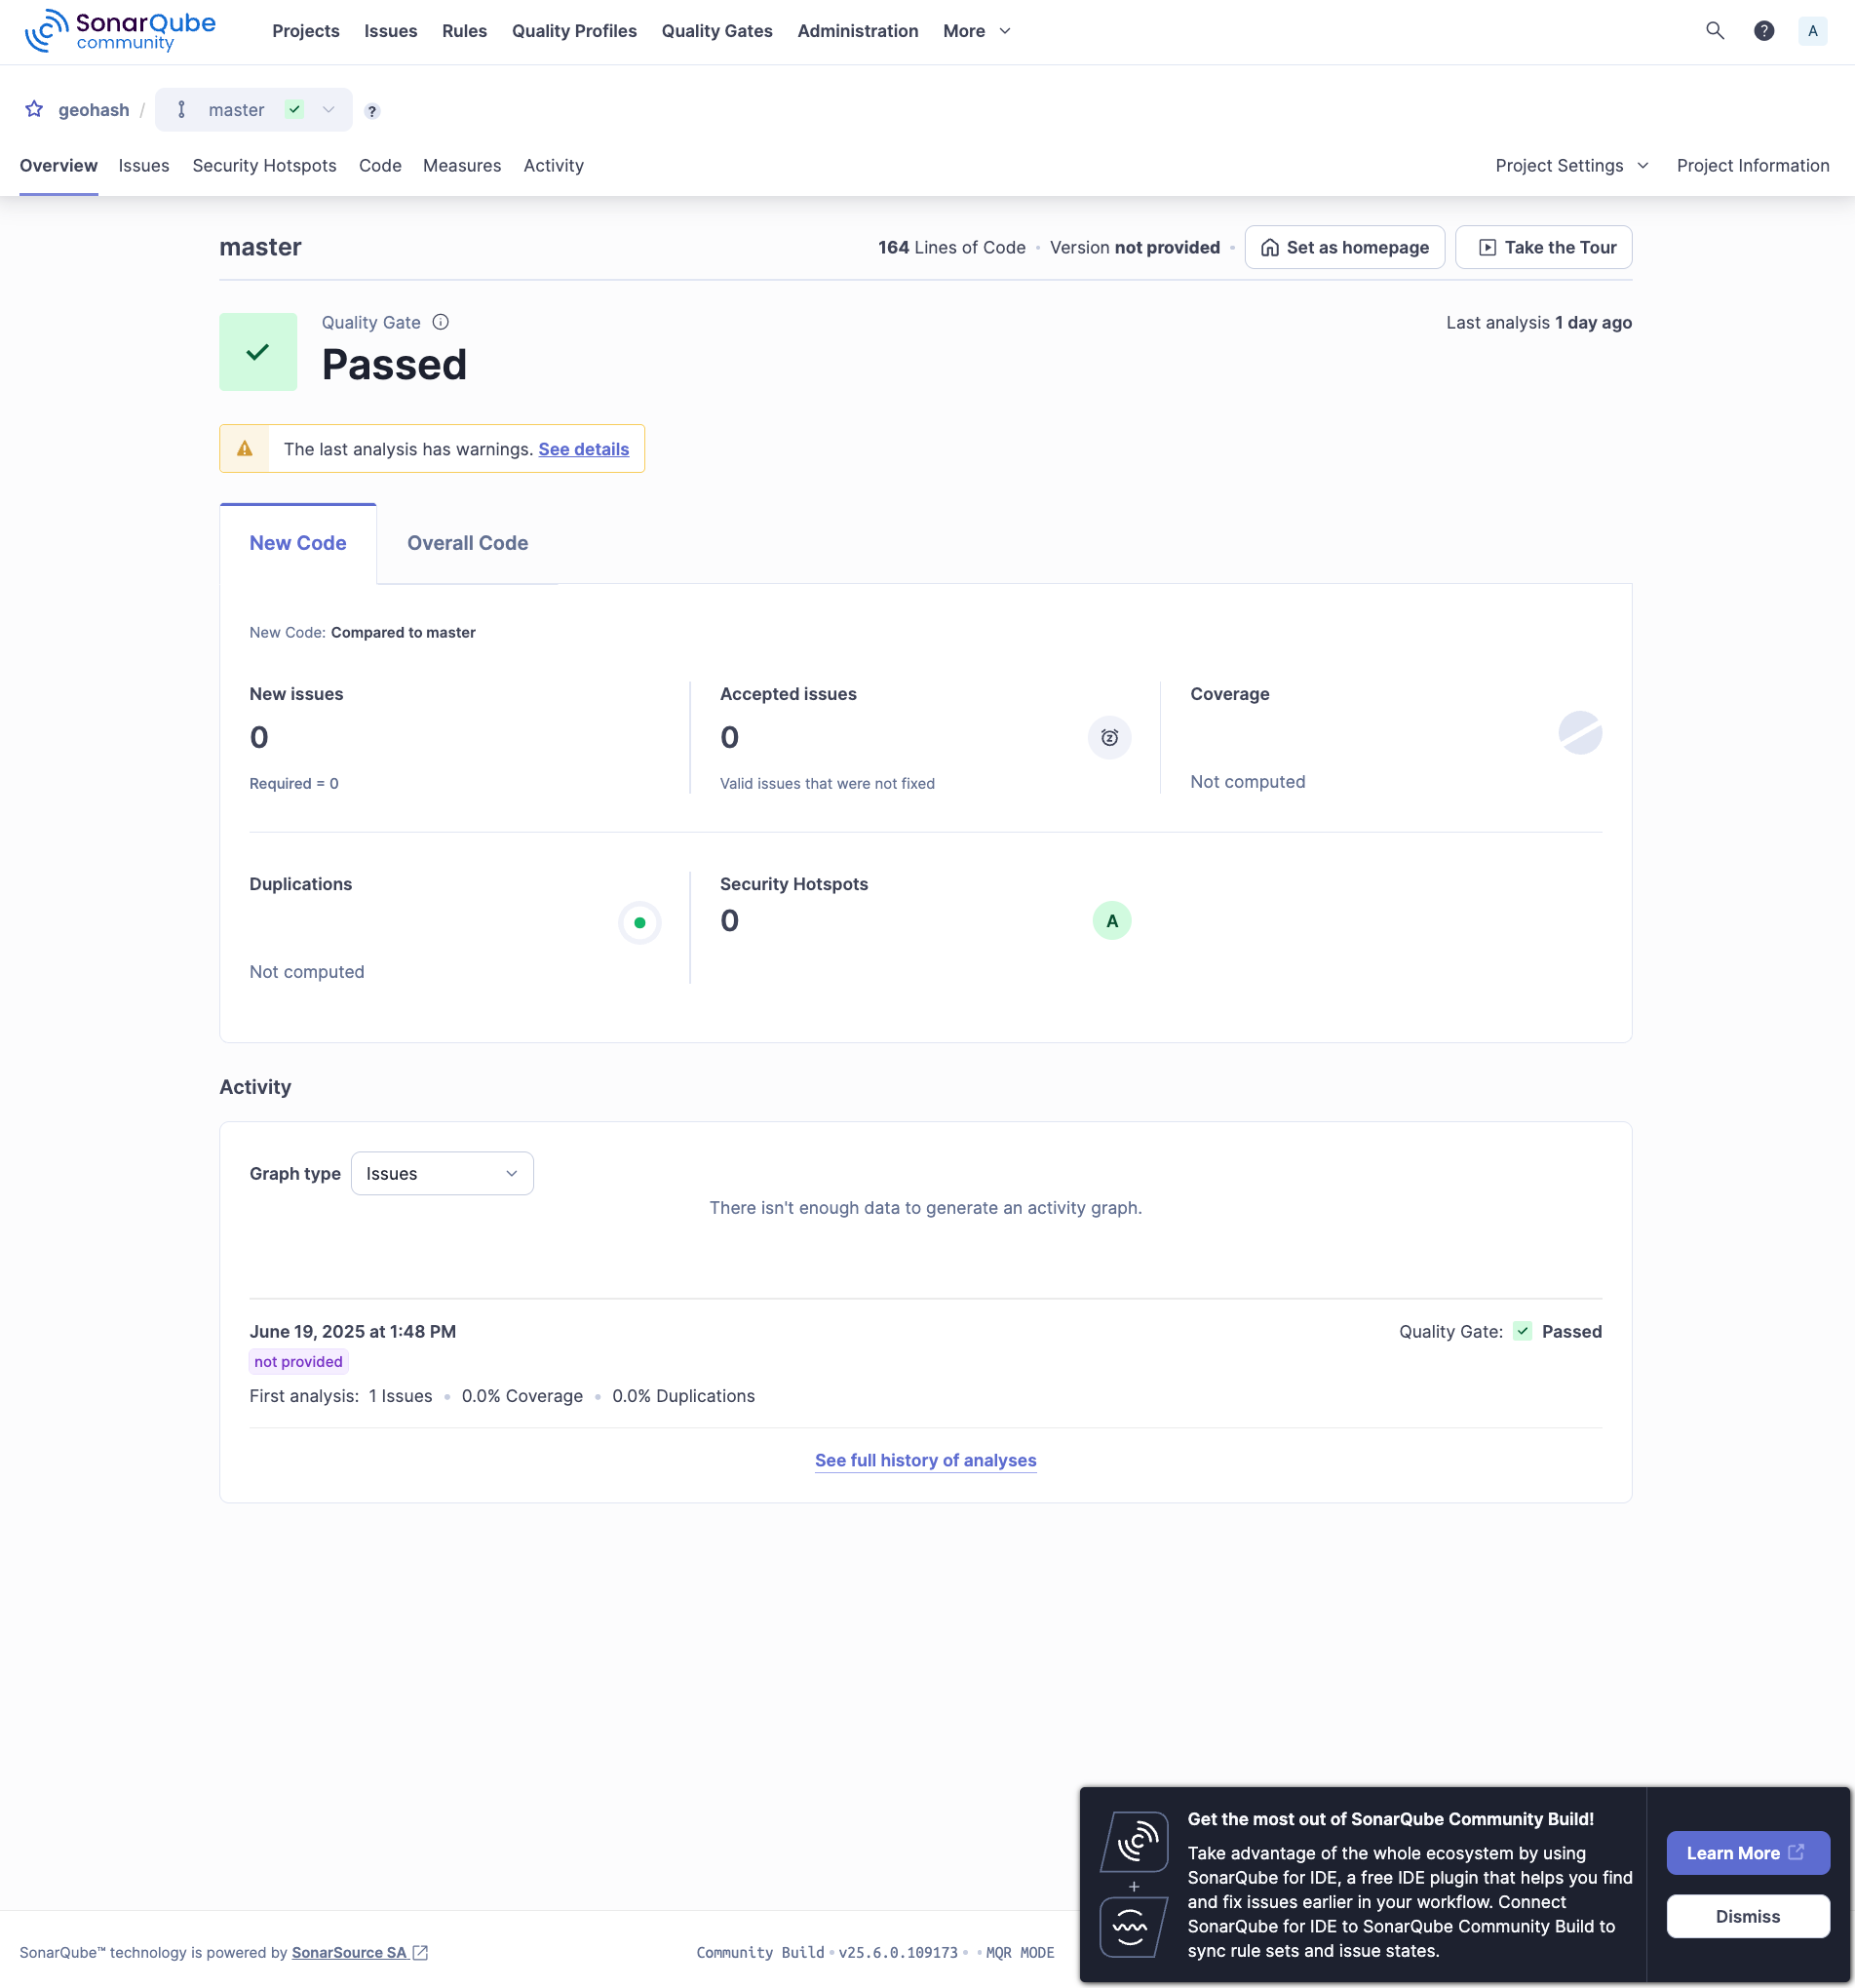
SonarQube project dashboard showing successful analysis results
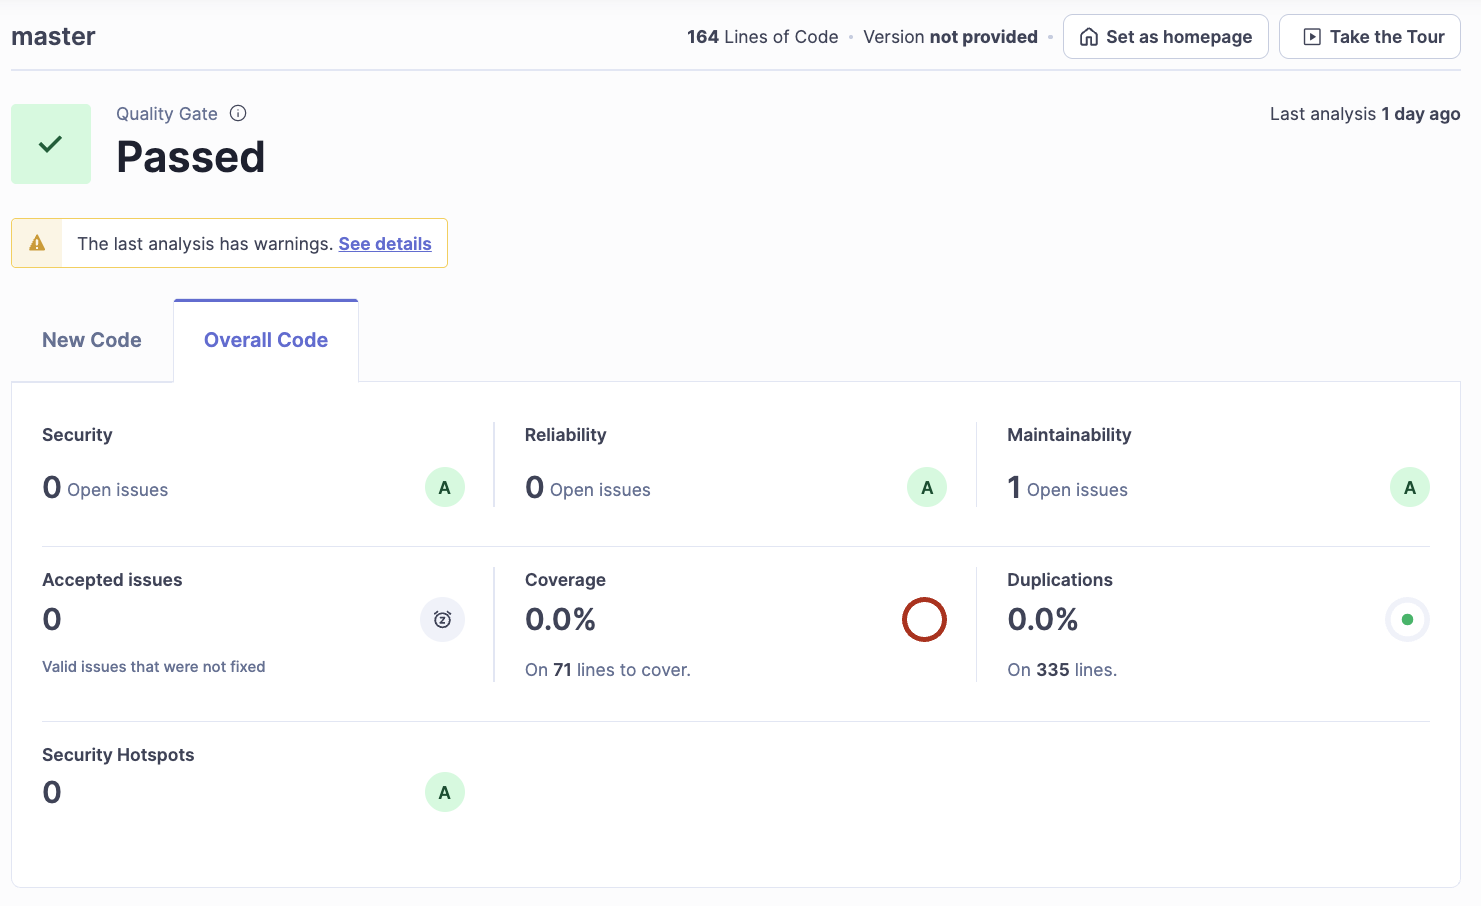
SonarQube project dashboard showing overall code statistics
SonarQube project dashboard showing code coverage
What’s next?
You can modify the workflow to your needs. For example, in between the checkout and the SonarQube scan, you can add a step to run the tests and produce the coverage report, so that the SonarQube scan can report more Clean As You Code analytics.
Also, you can use Badges to display the SonarQube project status in your README.md file. Copy the code format found in the SonarQube project > Project Information > Badges.
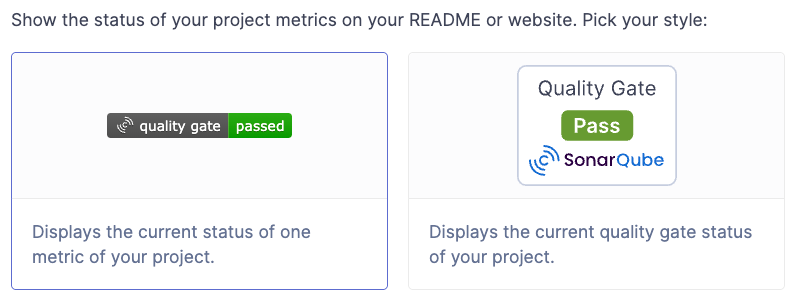
SonarQube badge showing project status


